Step 1: Click Calendar

Click “Calendar” on the left side of the BookOm dashboard.
Within the Calendar section of BookOm, you will be able to view and edit your schedule. You will also be able to view and edit your staff’s schedule if you have BookOm Studio.
Step 2: Get To Know The Calendar Interface
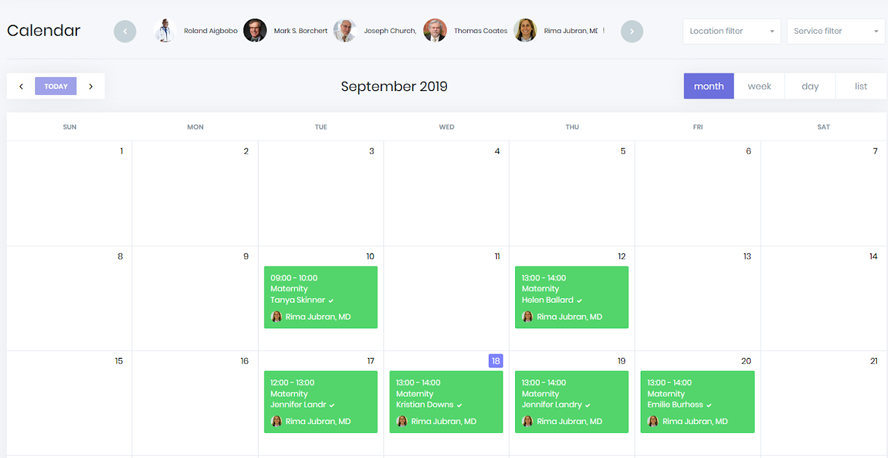
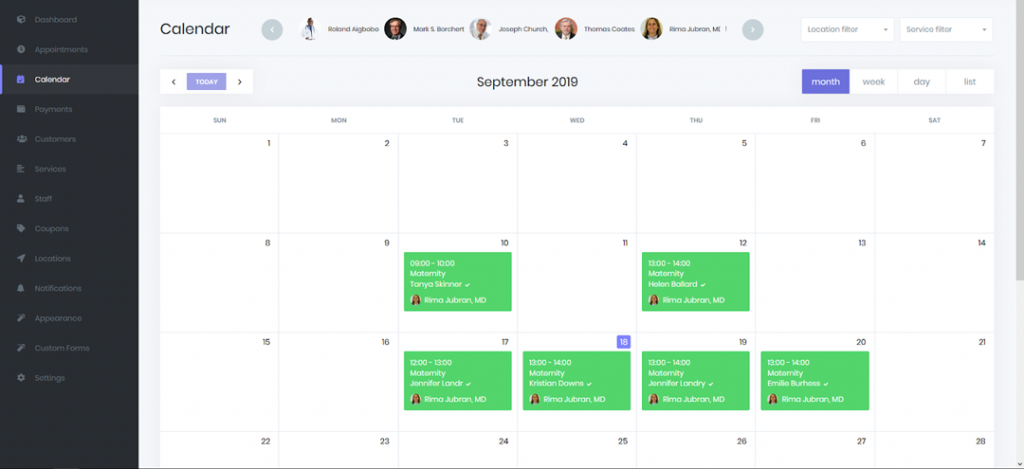
Below are the four elements of the Calendar interface:
Staff Filter: If you have BookOm Studio, you’ll see images of all your staff, with their names, at the top of the calendar. If you click on a staff member you’ll be taken to their calendar, so you can see their appointments.
Location Filter: Click on the “location filter” to filter appointments by geographic location.
Service Filter: Click on the “service filter” to filter appointments by services (e.g. Yoga classes, pilates classes, one-to-one sessions, etc).
Month – Week – Day – List: You can view your calendar by month, week, day, or list format.
Step 3: Click On An Appointment
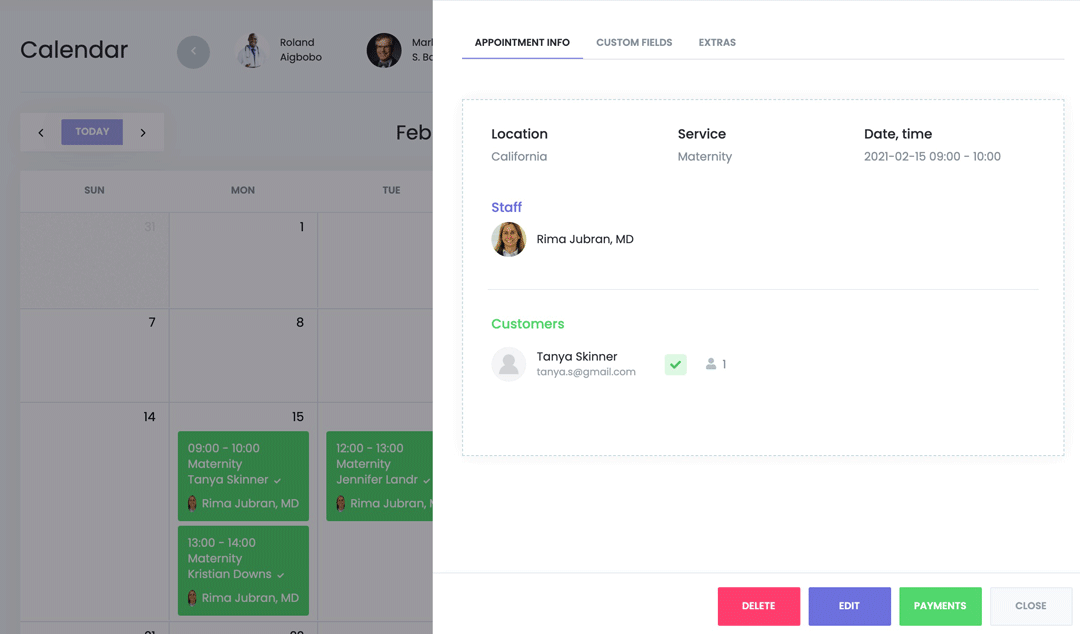
If you click on an appointment, the “appointment info panel” will slide into view.
Below are the three tabs within the Appointment Info Panel:
Appointment Info Tab: You’ll be able to see the main details of the appointment such as location, service name, date/time, the staff member responsible for the appointment, and the customers who have booked the appointment.
Custom Fields Tab: If you have created any custom fields they’ll be shown here.
Extras Tab: If you have added any extras (e.g. customers can purchase a yoga mat if your service is a yoga class) they’ll be shown here.
Step 4: The Four Buttons

On the bottom right of the Appointment Info Panel, you’ll see four buttons (see screenshot above).
Below are the four buttons on the Appointment Info Panel:
Delete Button: Click the “delete” button to delete the appointment.
Edit Button: Click the “edit” button to edit the appointment (see screenshot below).

Payments Button: Click the “payments” button to view and edit the payment information (see screenshot below).

If you click the grey “pay” button (see screenshot above), you’ll be able to see and edit the payment details (see screenshot below).

Close Button: Click the “close” button to close the Appointment Info Panel.