Step 1: Click Appointments

Click “Appointments” on the left side of the BookOm dashboard.
New Appointments
You can create a new Appointment by clicking the purple “+ New Appointment” button on the top right of the Appointments Dashboard.
Edit Appointments
You can edit or delete an appointment by clicking on “Three Dots Icon” at the end of each appointment.
Delete Appointments
You can also select and delete appointments in bulk (see screenshot below).

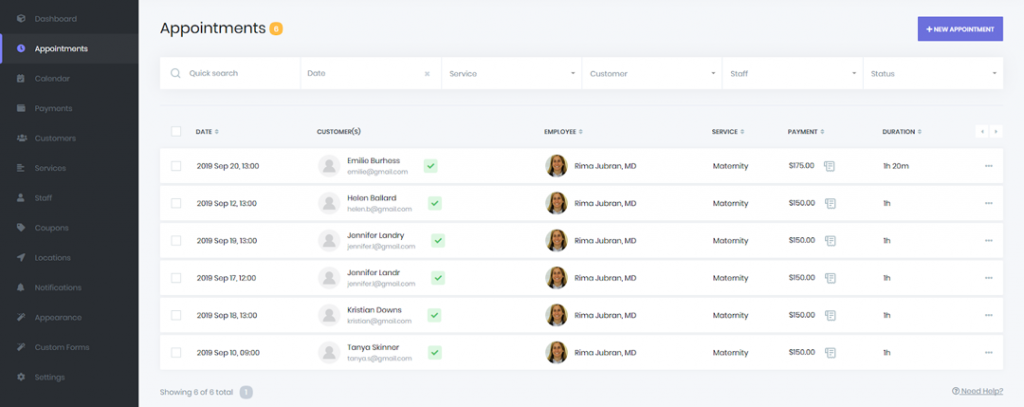
Step 2: Get To Know The Appointments Interface

Using convenient search and filters, you can find an appointment quickly and easily. You can order the columns with ASCENDING and DESCENDING markup.
Appointments Interface Columns
Date Column
The date column shows the dates of the appointments.
Customer(s) Column
The customer column shows all the customers booked in for the appointments.
To the right of the customer’s name will be one of three icons:
Green Trick Icon: A green tick icon means that the appointment has been approved.
Orange Clock Icon: An orange clock icon means that the appointment approval is pending.
Red X Icon: A red X icon means that the appointment has been canceled.
Employee Column
The employee column shows the employee who is assigned to the appointment. If you are the only employee, that will be you.
Service Column
The service column shows the service name for the appointment (e.g. Hatha yoga class).
Payment Column
The payment column shows the payment amount. You can click on the payment amount to be taken to the “payment panel” where you can edit the payment information and change the status of the payment to “pending”, “paid”, or “paid (deposit)”.
Duration Column
The duration column shows the duration of the appointments.
Step 3: Create A New Appointment
You can create a new Appointment by clicking the purple “+ New Appointment” button on the top right of the Appointments Dashboard.
In the pop-up window, there are two tabs.
Tab 1: Appointment Details
Tab 2: Extras
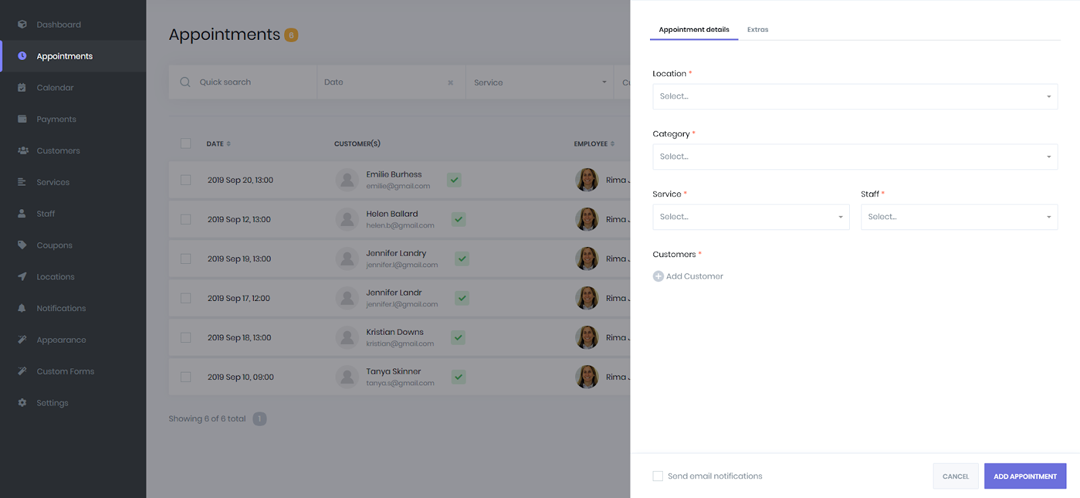 Within the “Appointment Details” tab (see screenshot above), you fill out the following sections:
- Location
- Category
- Service
- Staff
- Customers
- Date & time
Date & Time
After selecting the location, category, service, and staff member, the panel for adding the date/time will appear (see screenshot below).
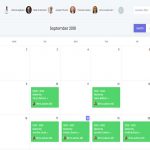
Date and time options are available according to the timesheet, holidays, and special days (that can be set within “Services” or “Staff”). For example, if you have set Sunday as a holiday, there will be no empty time slot option for Sundays.
Add Customers

After adding the date and time, click the + icon next to “Add Customer” (see screenshot above). You can manually add customers here, or if the customer is making the booking from your online booking form, they will appear here automatically.
You can record the status of the Customer (see two screenshots below). When clicking “pending” you’ll be given four options: approved, pending, canceled, and rejected).

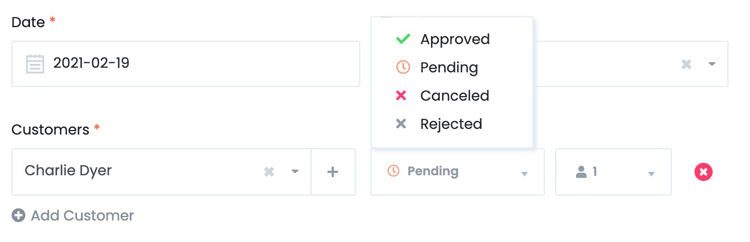
If the customer is coming with one or more friends/family, you can add that number in the people dropdown (see screenshot above). If you have a maximum capacity, these people will be included within the capacity limit (if the maximum capacity is already reached, you won’t be able to change the number from “one”).
Send Notifications

If you do not tick the “Send notifications” checkbox (see screenshot above), then notifications will not be sent to the customer even if you have notifications enabled within the “Notifications” section of the dashboard. If you want to send notifications that you have set up within “Notifications”, tick the “send notifications” checkbox.
Monthly Recurring Appointments
If the service you choose is a monthly recurring service, you have 6 options to choose from.
Six Options
- Specific day
- First
- Second
- Third
- Fourth
- Last
Specific Day
If you select the “specific day” option, you can specify the specific days you want from 1 to 31. For example, if you want to repeat this appointment on the 5th, 10th, and 15th of each month, you will select options 5, 10, and 15.
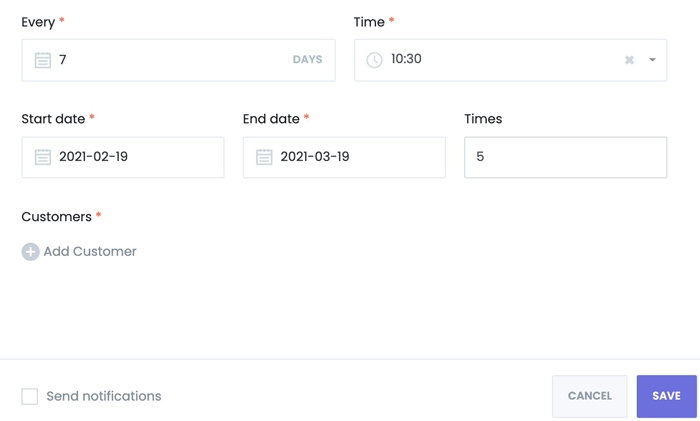
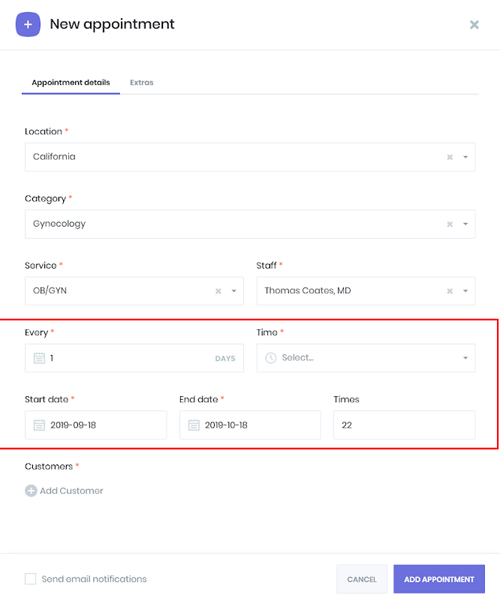
Within the “Time” section, select the start time of the appointment.
Within the “Start date” section, select the start date.
Within the “End date” section, select the end date.
Within the “Times” section, select how many times your appointment will run. You can control the “End Date” with your “Times” input. For example, if you type 10 into the “Times” section, the system will automatically input the End date.
First, Second, Third, Fourth, And Last
If you select one of the “First, Second, Third, Fourth, or Last” options you will be able to choose any day of the week. For example, you can choose the First Monday of the month. This means that the appointment will be repeated on the first Monday of each month.
If the Fixed full period is set at the time the service is added, you cannot set the End date. When you select the start date, the end date will be automatically calculated according to the service settings.
Weekly Recurring Appointments

If your service is a “weekly recurring appointment” (see screenshot above), you can choose the days of the week. After choosing the days of the week, set the start times, start date, and end date.
Daily Recurring Appointments

If your service is a “daily recurring appointment” (see screenshot above), you need to determine how many days your appointment will be repeated. If you choose every 1 day, the appointment will be repeated daily. If you choose every 2 days, it will repeat every 2 days.
If you have extras related to the Service and you want to select it, you can do so from the Extras tab (see screenshot above).